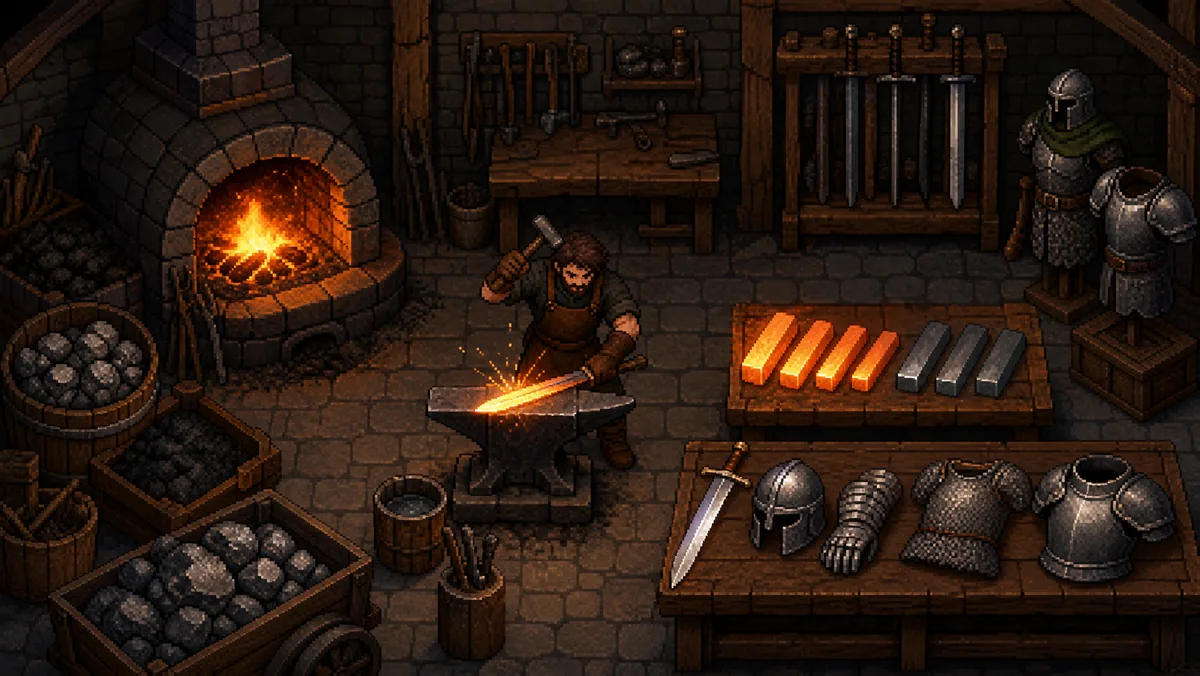

Where smithing happens
At a town blacksmith. Twenty-eight forges line the road — from Gregor's Smithy at Wanderer's Rest to the twin lava-fed forges of the Forgeheart Enclave — each with three stations: the furnace (ore → bars), the anvil (bars → gear and tools), and the tempering bench (covered in the tempering guide). Tap a station to use it, or set the Smithing travel mode, pick any recipe, and your wanderer walks to the nearest forge and produces it repeatedly until the materials run out.
Smelting: every bar in the game
Recipes and XP below are the live values — the forge shows the same numbers in-game. Higher bars embed whole chains: a Frost Bar contains a finished Starforged Bar, which itself took five mined units.
Since the July 2026 tools update, smelting anything past a Bronze Bar needs a pair of tongs (in your pack or tool slot), and every pour is now a success roll — a failed pour makes no bar but salvages roughly half the ore. See the forge tools and success & salvage below. Bronze Bars stay tongs-free, so a brand-new smith can always make the bars a first pair of tongs is forged from.
| Bar | Smithing level | Recipe | XP |
|---|---|---|---|
| Bronze Bar | 1 | 1 Copper Ore + 1 Tin Ore | 36 |
| Iron Bar | 15 | 1 Iron Ore | 31 |
| Steel Bar | 30 | 1 Iron Ore + 2 Coal | 125 |
| Silver Bar | 35 | 1 Silver Ore + 1 Coal | 95 |
| Gold Bar | 40 | 1 Gold Ore + 1 Coal | 105 |
| Aethersteel Bar | 50 | 1 Aethersteel Ore + 2 Coal | 180 |
| Deepsteel Bar | 70 | 1 Deepsteel Ore + 3 Coal | 300 |
| Starforged Bar | 90 | 1 Starforged Ore + 4 Coal | 455 |
| Frost Bar | 100 | 1 Frost Ore + 1 Starforged Bar | 590 |
| Void Bar | 135 | 1 Void Ore + 1 Starforged Bar | 765 |
| Celestial Bar | 160 | 1 Celestial Ore + 1 Void Bar | 1025 |
How Smithing XP works now
Since the July 2026 rebalance, every recipe's XP comes from one formula built on its equivalent ore cost — the total mined units behind it, tracing bars back through their chains. Three times the ore pays roughly 2.4× the XP (diminishing returns, so bulk recipes reward the gathering without paying linearly), and higher-level recipes pay more per ore. The practical upshots:
- Expensive recipes are worth their materials — a Steel Bar (3 mined units) pays 125 XP against Iron's 31.
- Big gear is big XP: a body piece costs five bars and pays accordingly.
- Every recipe shows its exact XP at the forge — what's displayed is what's awarded.
Forging gear
Any gear tier whose bars you can supply can be forged at the anvil — the output is identical to the same piece dropped by a monster. Anvil work needs a smith hammer (again, pack or tool slot) and rolls for success the same way the furnace does. Costs scale by slot:
| Slot | Bars needed | Slot | Bars needed |
|---|---|---|---|
| Boots | 1× the set's bars | Weapon | 3× |
| Helmet | 2× | Shield | 3× |
| Legs | 3× | Body | 5× |
So a full set is 17× its tier's bar recipe. Simple tiers cost one bar type (Iron gear: iron bars); prestige tiers mix (Azure: Aethersteel + Silver per unit). Smithing XP for gear weighs the bars' full ore chains plus a complexity factor — weapons and body pieces pay the most per craft. The Smithing level required tracks the gear's tier, up to Legendary work at level 250.
Forge quality. Every piece you forge starts at Standard quality and can climb the rarity ladder — Standard → Refined → Rare → Epic → Relic — on a chance rolled once per rung, stopping at the first miss. Reaching Relic means four rungs in a row. The per-rung chance is (Smithing level ÷ the recipe's required level) × 30%, minus 25%, plus your smith hammer's bonus, capped 10–95%. Forging well above a recipe's required level, with a good hammer in hand, is how you fish for higher-quality gear — the same Relic pieces a monster might drop. (Tools always come out Standard.)
The four tools: pickaxe, axe, tongs & hammer
Wanderer now has four gathering-and-crafting tools, each a full ladder from Bronze to Celestial. A pickaxe works ore rocks, a woodcutter's axe fells trees, tongs let you smelt, and a smith hammer lets you forge. All four are forged the same way — three bars of the metal at any anvil (Iron-tier tools at Smithing 15, up to Celestial at 160) — equip into their own tool slots on the Character screen, work equally well from your pack or worn, and auto-equip your best at login. Tool recipes use the same resource-weighted XP as everything else; a Steel Pickaxe embeds nine mined units.
Unlike pickaxes and axes, the entry tier of each forge tool is craftable: a Bronze Tongs and a Bronze Hammer each cost three Bronze Bars and — for now — can both be forged with no hammer in hand. That closes the loop for a fresh smith: mine copper and tin, smelt Bronze Bars (no tongs needed), then hammer out your first tongs and hammer. Prefer to skip the grind? Wanderer's Rest sells the Bronze Pickaxe, Tongs & Hammer starter kit — all three at once.
Every tier of tongs and hammer also carries a +Success bonus — the same ladder pickaxes and axes use. A better tool doesn't just botch fewer pours and forges: the tongs' bonus also feeds your bonus-bar chance, and the hammer's feeds your forge-quality chance. Both tongs and hammers share this ladder:
| Tier | Tongs / Hammer +Success | Smithing level to forge |
|---|---|---|
| Bronze | — | 1 (from 3 Bronze Bars, no hammer needed) |
| Iron | +4% | 15 |
| Steel | +8% | 30 |
| Aethersteel | +12% | 50 |
| Deepsteel | +16% | 70 |
| Starforged | +20% | 90 |
| Frost | +24% | 100 |
| Void | +28% | 135 |
| Celestial | +34% | 160 |
The matching pickaxe and axe ladders (same bonuses, same levels) are in the mining and woodcutting guides.
Success, failure & salvage
Both the furnace and the anvil now roll for success on every action, using the same shape as a mining swing: a base chance for the recipe, plus your tool's +Success bonus, plus a little for every Smithing level you sit above the recipe's requirement — capped between 10% and 95%. Harder, higher-tier recipes start lower; levels and better tools pull them back up. The forge shows the live percentage on each recipe before you commit.
A failure costs you the attempt but not the world: no bar or item is produced, you still earn a small trickle of Smithing XP, and each unit of material has an independent 50% chance to be salvaged from the ruined work. Over a long queue the losses are gentle, and they shrink further as your level and tools improve.
Bonus bars. A successful pour can also throw a second bar for free — one extra roll on the same chance shape: (Smithing level ÷ the recipe's required level) × 30%, minus 25%, plus your tongs' bonus, capped 10–95%. It fires at most once, so a pour gives one or two bars and never more — a steady windfall that grows as your level and tongs improve, and it counts while you're smelting offline too. (Forge quality on gear, covered above, is the anvil's version of the same idea.)
Running the forge offline
Set Smithing as your offline mode with any recipe selected and your wanderer will walk to the nearest forge and work through your materials while you're away — one craft per work tick, identical XP to live play, output auto-sold for coins only if your pack is truly full. It stops cleanly when materials run out. An overnight queue of steel is the classic way to turn a day's mining into a level.
Levelling route (a sane one)
- 1–15: Bronze bars from the copper/tin fields west of the Rest. Forge a Bronze Tongs and Bronze Hammer first (or grab the starter kit), then smith Worn/Bronze gear.
- 15–30: Iron bars off the Stonewatch ridge; an Iron Pickaxe and Axe as your first tool upgrades.
- 30–50: Steel everything — bars, gear for the set bonus, your Steel Pickaxe. Coal is king; stockpile it.
- 50–90: Follow the ore east: Aethersteel, then Deepsteel, then Starforged, forging each tier's tools as you pass its threshold.
- 90+: Chain bars (Frost, Void, Celestial) and big gear pieces — the resource-weighted XP makes the ambitious recipes the efficient ones.
Common mistakes
- Smelting without a plan. Bars are means, not ends — check what gear or tool you're actually building toward before converting a whole ore stack.
- Under-buying coal. Steel wants 2 per bar, Deepsteel 3, Starforged 4. It is always the binding resource.
- Forging boots for XP. Small pieces are cheap but pay accordingly — body pieces and weapons are the efficient crafts per trip.
- Forgetting the recipes are a recipe book. The furnace lists every bar in the game, including ones above your level — use it to plan the next fifty levels.
- Leaving your tongs or hammer at home. They work from the pack or the tool slot, but you need one to smelt past bronze or to forge at all — carry the best tier you own, since it also cuts your failure rate.
FAQ
Is crafted gear worse than dropped gear?
Identical. Same stats, same quality grades, same tempering eligibility.
Do I really need tongs and a hammer now?
Yes — tongs to smelt any bar above Bronze, a smith hammer to forge anything at the anvil. The exceptions are the bootstrap tools themselves: Bronze Bars need no tongs, and a Bronze Tongs and Bronze Hammer can be forged with no hammer, so nobody gets locked out. Your best tools also raise your success rate.
What happens when a smelt or forge fails?
You get no bar or item, a small amount of Smithing XP, and about half your materials back (each unit has a 50% chance to be salvaged). Higher Smithing levels and better tongs/hammers make failures rarer.
Can I smelt two bars at once?
Yes — a successful pour rolls a bonus-bar chance and can output two bars instead of one. The odds are (Smithing ÷ the recipe's required level) × 30%, minus 25%, plus your tongs' bonus, capped 10–95%. It procs at most once per pour (never three), and it works offline too.
How do I forge higher-rarity gear?
Every forged piece starts Standard and can climb Refined → Rare → Epic → Relic, one rung at a time, stopping at the first failed roll — four in a row for a Relic. The chance per rung is (Smithing ÷ the recipe's required level) × 30%, minus 25%, plus your smith hammer's bonus, capped 10–95%, so forging above the requirement with a good hammer is what raises your odds. Tools always come out Standard.
Can I use locked ore at the forge?
Yes — a lock only prevents selling. Locked stacks fill from mining and spend at the forge like any other.
What happens if my pack fills mid-session?
The forge keeps working and auto-sells the output for coins instead of stopping — you lose nothing but shelf space.
Where's the best forge?
They're functionally identical — the best forge is the one nearest your ore. Stonewatch early, Old Veyr and Dawnfall in the middle game, Forgeheart at the end.